ABOUT THIS BLOG

"A Faithful Attempt" is designed to showcase a variety of K-12 art lessons, the work of my art students, as well as other art-related topics. Projects shown are my take on other art teacher's lessons, lessons found in books or else designed by myself.
Thanks for visiting!
LAND ACKNOWLEDGEMENT I acknowledge, with deep respect, that I am gathered on Treaty 7 territory. I acknowledge the many First Nations, Métis and Inuit whose footsteps have marked these lands for generations. I recognize the land as an act of reconciliation and gratitude to those whose territory we reside on or are visiting.

Monday, February 28, 2011

Warm/Cool Landscapes

This is a fun project to do with middle school students to help reinforce both warm and cool colours and the elements of a good landscape: foreground, middle ground and background.
My Grade 6 students did this project and it took approximately 2- 90 minute periods.

For the first class, we looked at some landscape paintings as well as photos of landscapes- have the students point out the foreground, middle ground and background.  Each student then has their own landscape book and chooses a photo to reference.  I tell them they need to do a simplified version of this landscape- get rid of any small details and look for the big, main shapes.

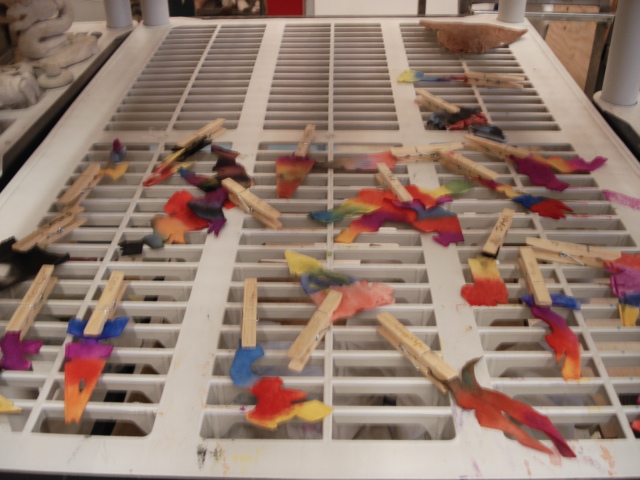
On black paper, they sketch out their simplified landscape in pencil first, then use white glue to pass over all the lines.  Let dry flat overnight.


Here's one dry.

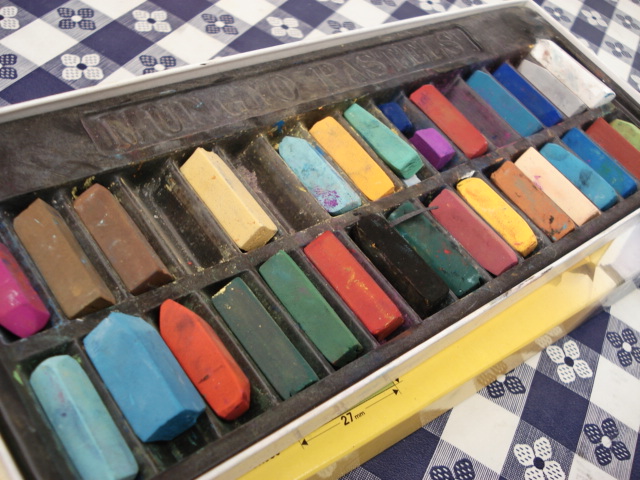
Now, get out the chalk pastels.  We review warm and cool colours and I tell the students they need to choose which sections of the landscape will be cool and which areas will be warm.  
I also demonstrate how to use the side of the chalk pastels and to gently swipe them onto the paper, then blend with their finger. 
I also encourage students to mix colours together for a more interesting, complex look. You can show them how to add highlights to the tops of hills, etc. to create a 3-D look.
Some students hate the feel of the dry chalk, so they can wrap their finger with a paper towel or tissue and blend that way.
Tap off excess dust onto the ground or in the garbage can (don't blow it onto your neighbour...)


Students applying the chalk pastels. When it's all colored and blended, take a small, thin, wet paintbrush and pass over all the glue lines to 'clean' them of any chalk pastel dust that got on them.
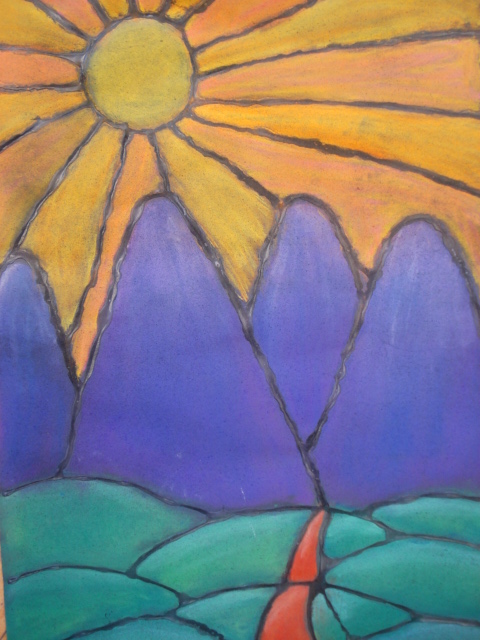

Ta da!


Saturday, February 26, 2011

Elements of Art Word Design


This is a project I give to any new class I teach.  I found it on the Artsonia website- from the Lewis & Clarke Middle School page. This term I taught it to my Grade 8 and 9 students. 
It is a very good introduction to the Elements of Art (line, space, form, colour, space, texture, shape). 
It also gives students a chance to use a variety of art media to create a unique mixed media piece. 
This project is definitely alot of information in one artwork- it takes a while to complete- it took us about 2 weeks.  Here's how we did it:

First, find the middle of your paper- mark the middle at the top and bottom. Then, using a ruler, measure diagonal lines from the bottom corners to the top middle dot, and the same with the bottom.  Does this make sense?  It's an easy way to create a symmetrical design of 7 sections- one for each element to be represented in.  I told the kids they could break it up any way as long as they had 7 sections.

Then fill the whole page with one giant word or a phrase- any language. Use interesting fonts.
Essentially, you're trying to have a bit of word in each of the sections. In the end, though, the word(s) is quite obscured and difficult to read and that's totally okay.
Students could add images as well.


Now, here the student has planned out where she wants each of the elements, the colours she might use and the materials she might use and how she is going to show her understanding of the element. 
(ie- for Value, use a pencil to show a variety of values... etc.)


Then, when you've planned it out, start your good copy.


Students could use a variety of materials including: markers, chalk pastels, pencils, oil pastels, pencil crayons, watercolours, and anything they wanted for texture (some conveyed implied texture and some used real texture by gluing on things...)

Here are some Grade 8 and 9 results: can you identify the Elements of Art in each artwork?

Grade 9


Grade 8


Tuesday, February 22, 2011

Tie Dye Snowflakes


This is a fun and simple winter project- there are a few versions of this floating around on the internet. It seems to be geared towards younger students, but I loved making them and knew
my middle school kids would as well! I like projects that use everyday objects
that kids can try at home as well.

You just need some coffee filters (basket style) and watercolours and water. 
You could also try using waterbased markers for this as well.
Liquid inks or liquid watercolours would come out much more vibrant, so use those if you have them.


Fold your filter in half 4-5 times. Cut lots of shapes and notches out from all sides.
I encourage kids to cut away lots of the filter- that way you can get a more frilly,
complex snowflake.


We used tempera discs for the painting step. Wet the entire folded snowflake first (using a wet paintbrush), then paint on colours on both sides, making sure the color is pretty intense and it passes through all the layers.


Paint, paint, paint... then flip it over and paint the other side...

We used clothespins to write our names on the snowflakes....


Then left them on a shelf to dry overnight.


The next class, carefully (they are very fragile) unfold them and carefully
glue stick them to a square piece of paper. 

These were made by Grade 7 students.
Ta da!


Three snowflakes layered together!

this student layered together two snowflakes.


These were made by Grade 6 students:


Related Posts Plugin for WordPress, Blogger...